Auxy
A tiny smart device that collects data for AI to help you improve your life.
// capture. process. grow.
What is Auxy?
Auxy is a minimalist, portable auxiliary device that passively captures movement, audio, and visual context throughout your day. The data flows to your iPhone, where AI processes it into actionable insights.
The goal is simple: let a small device pay attention so you can focus on living. Review what matters later.
Hardware
Roadmap
Robotics Research
Auxy's long-term vision includes mobility — the ability to move, follow, and interact. Here's what we've learned studying existing humanoid robots and mapping a realistic DIY path.
Unitree G1 — The Benchmark
The G1 is one of the most affordable full humanoid robots at ~$16K. It walks, runs, climbs stairs, recovers from falls, and has dexterous hands — powered by NVIDIA Jetson with 3D LiDAR and depth cameras.
DIY Path — Build Your Own
A humanoid is complex but achievable in phases. Start small, learn the fundamentals, then scale.
Cost Breakdown — DIY Humanoid
Estimated total: $2,000 – $13,000
Tip: start with a quadruped (4 legs) — easier to balance than a biped. Build up to humanoid form once locomotion fundamentals are solid.
Build Log
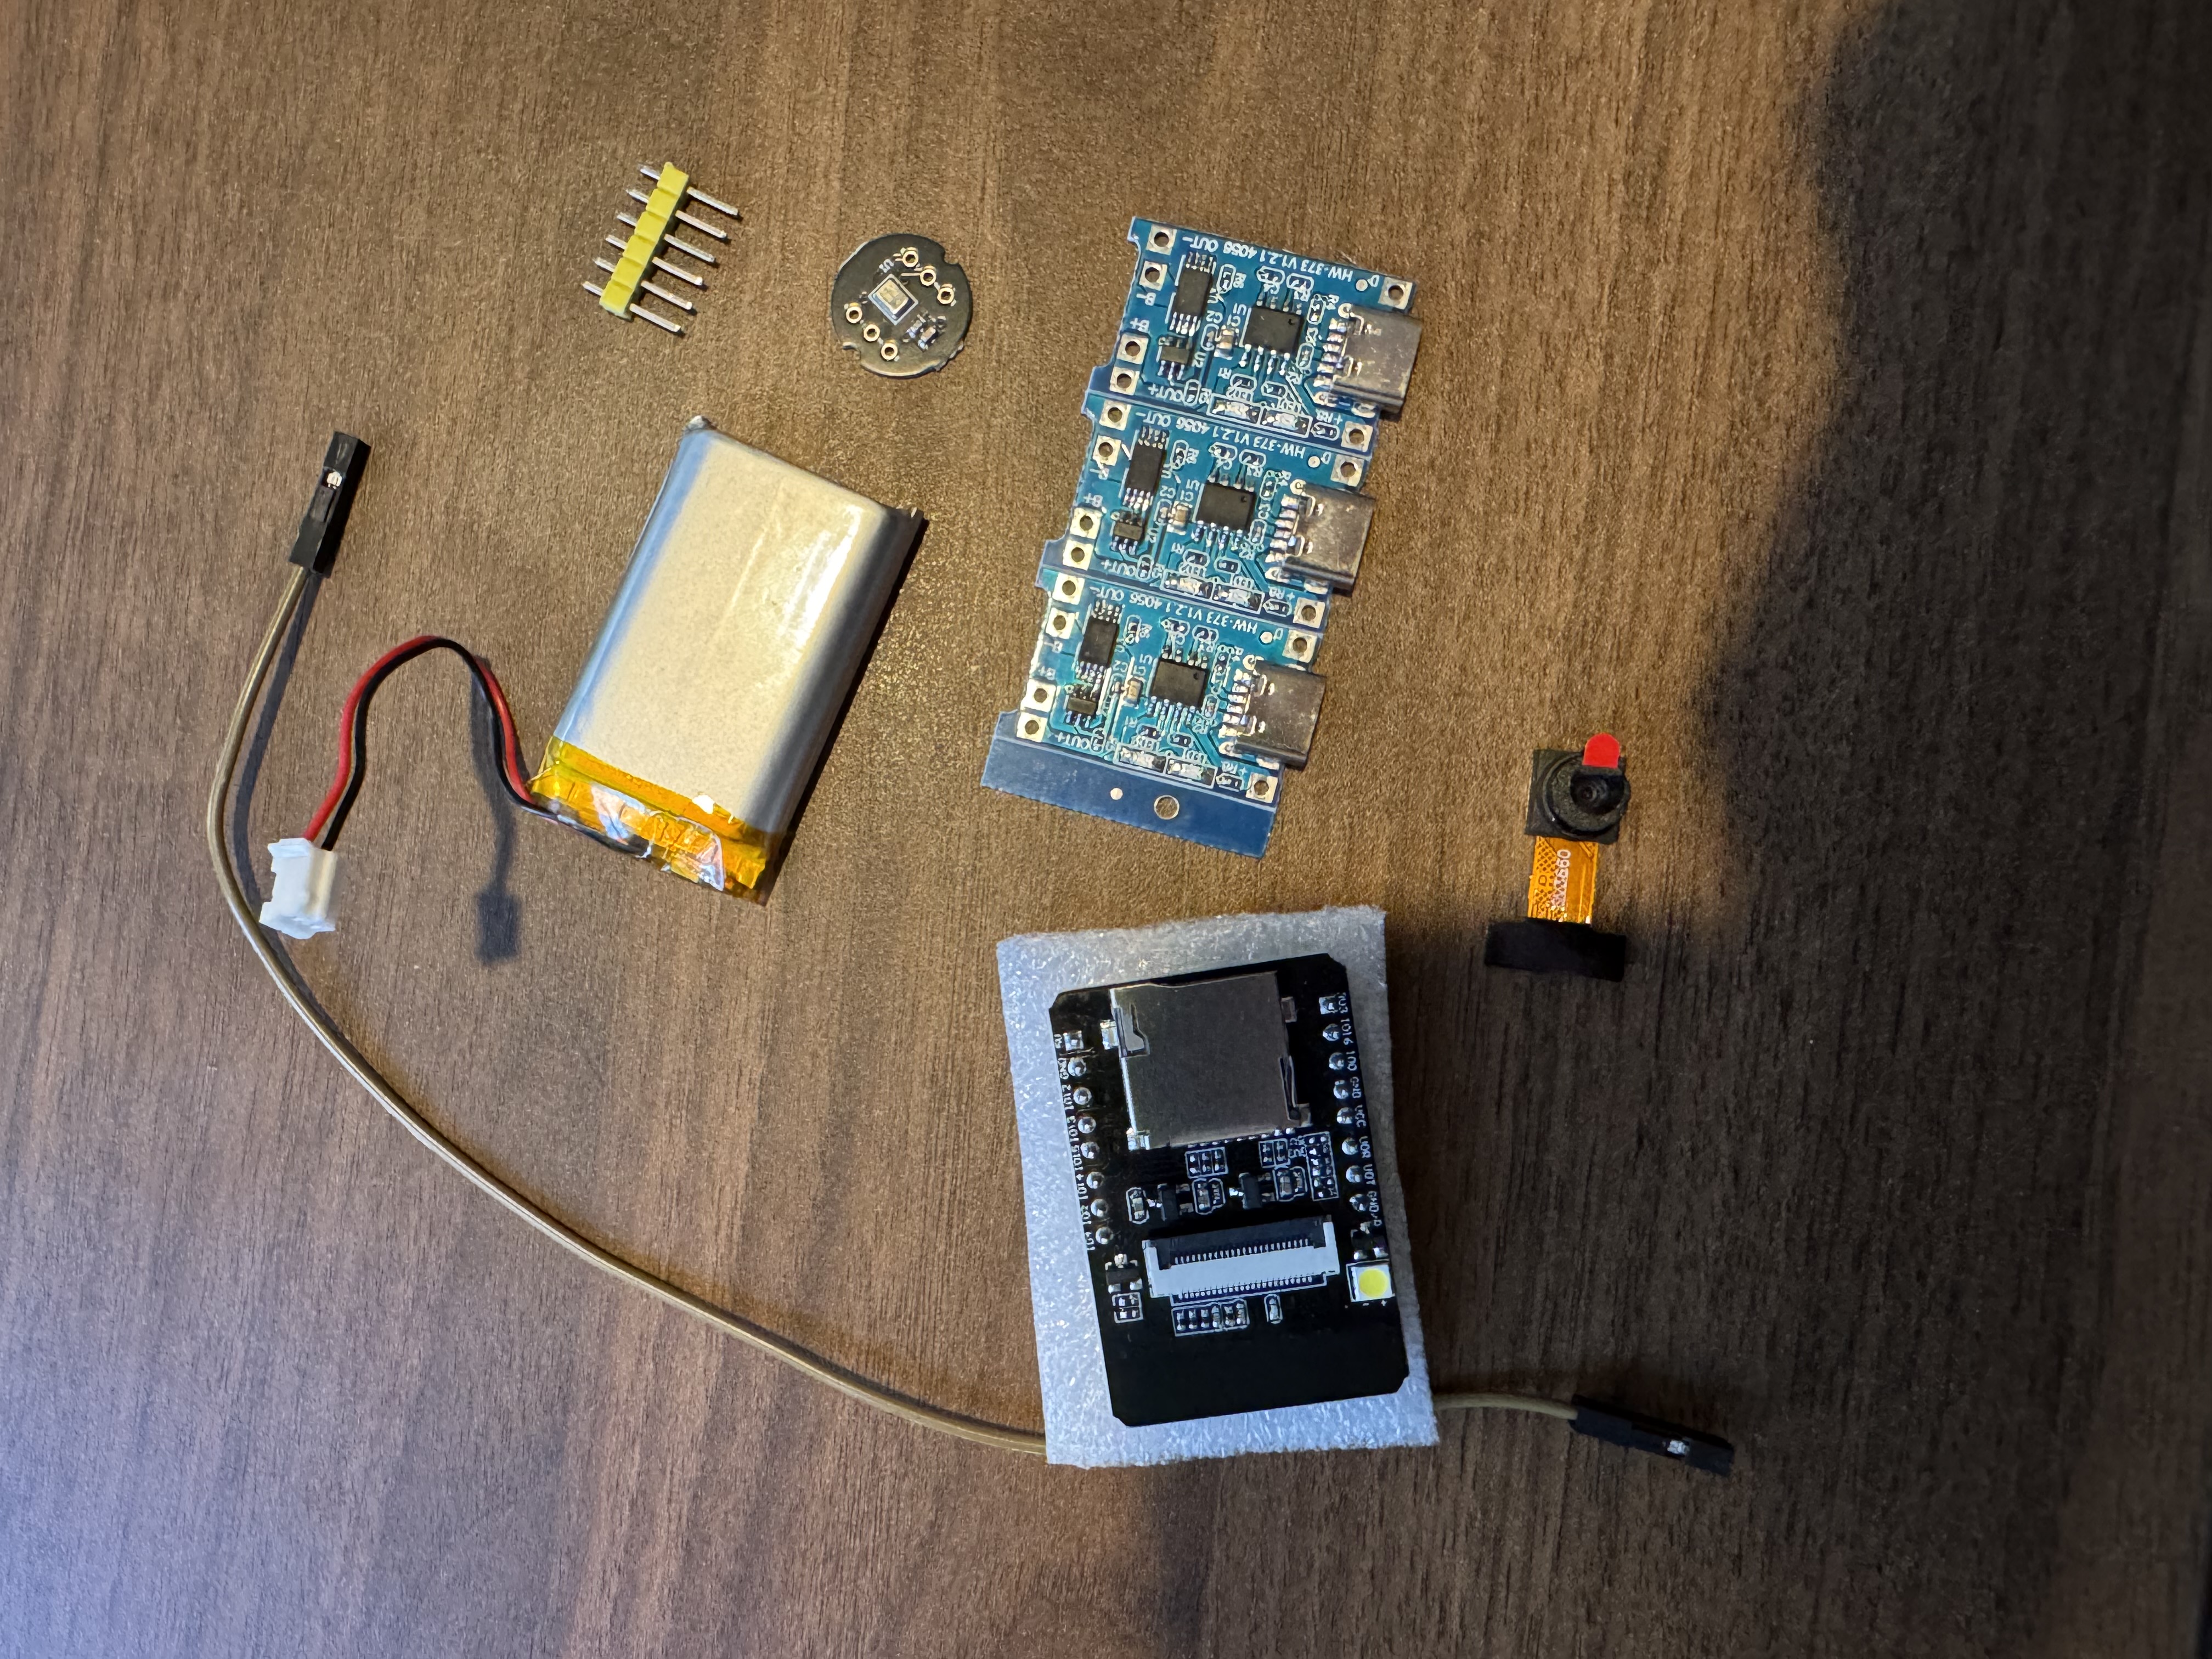
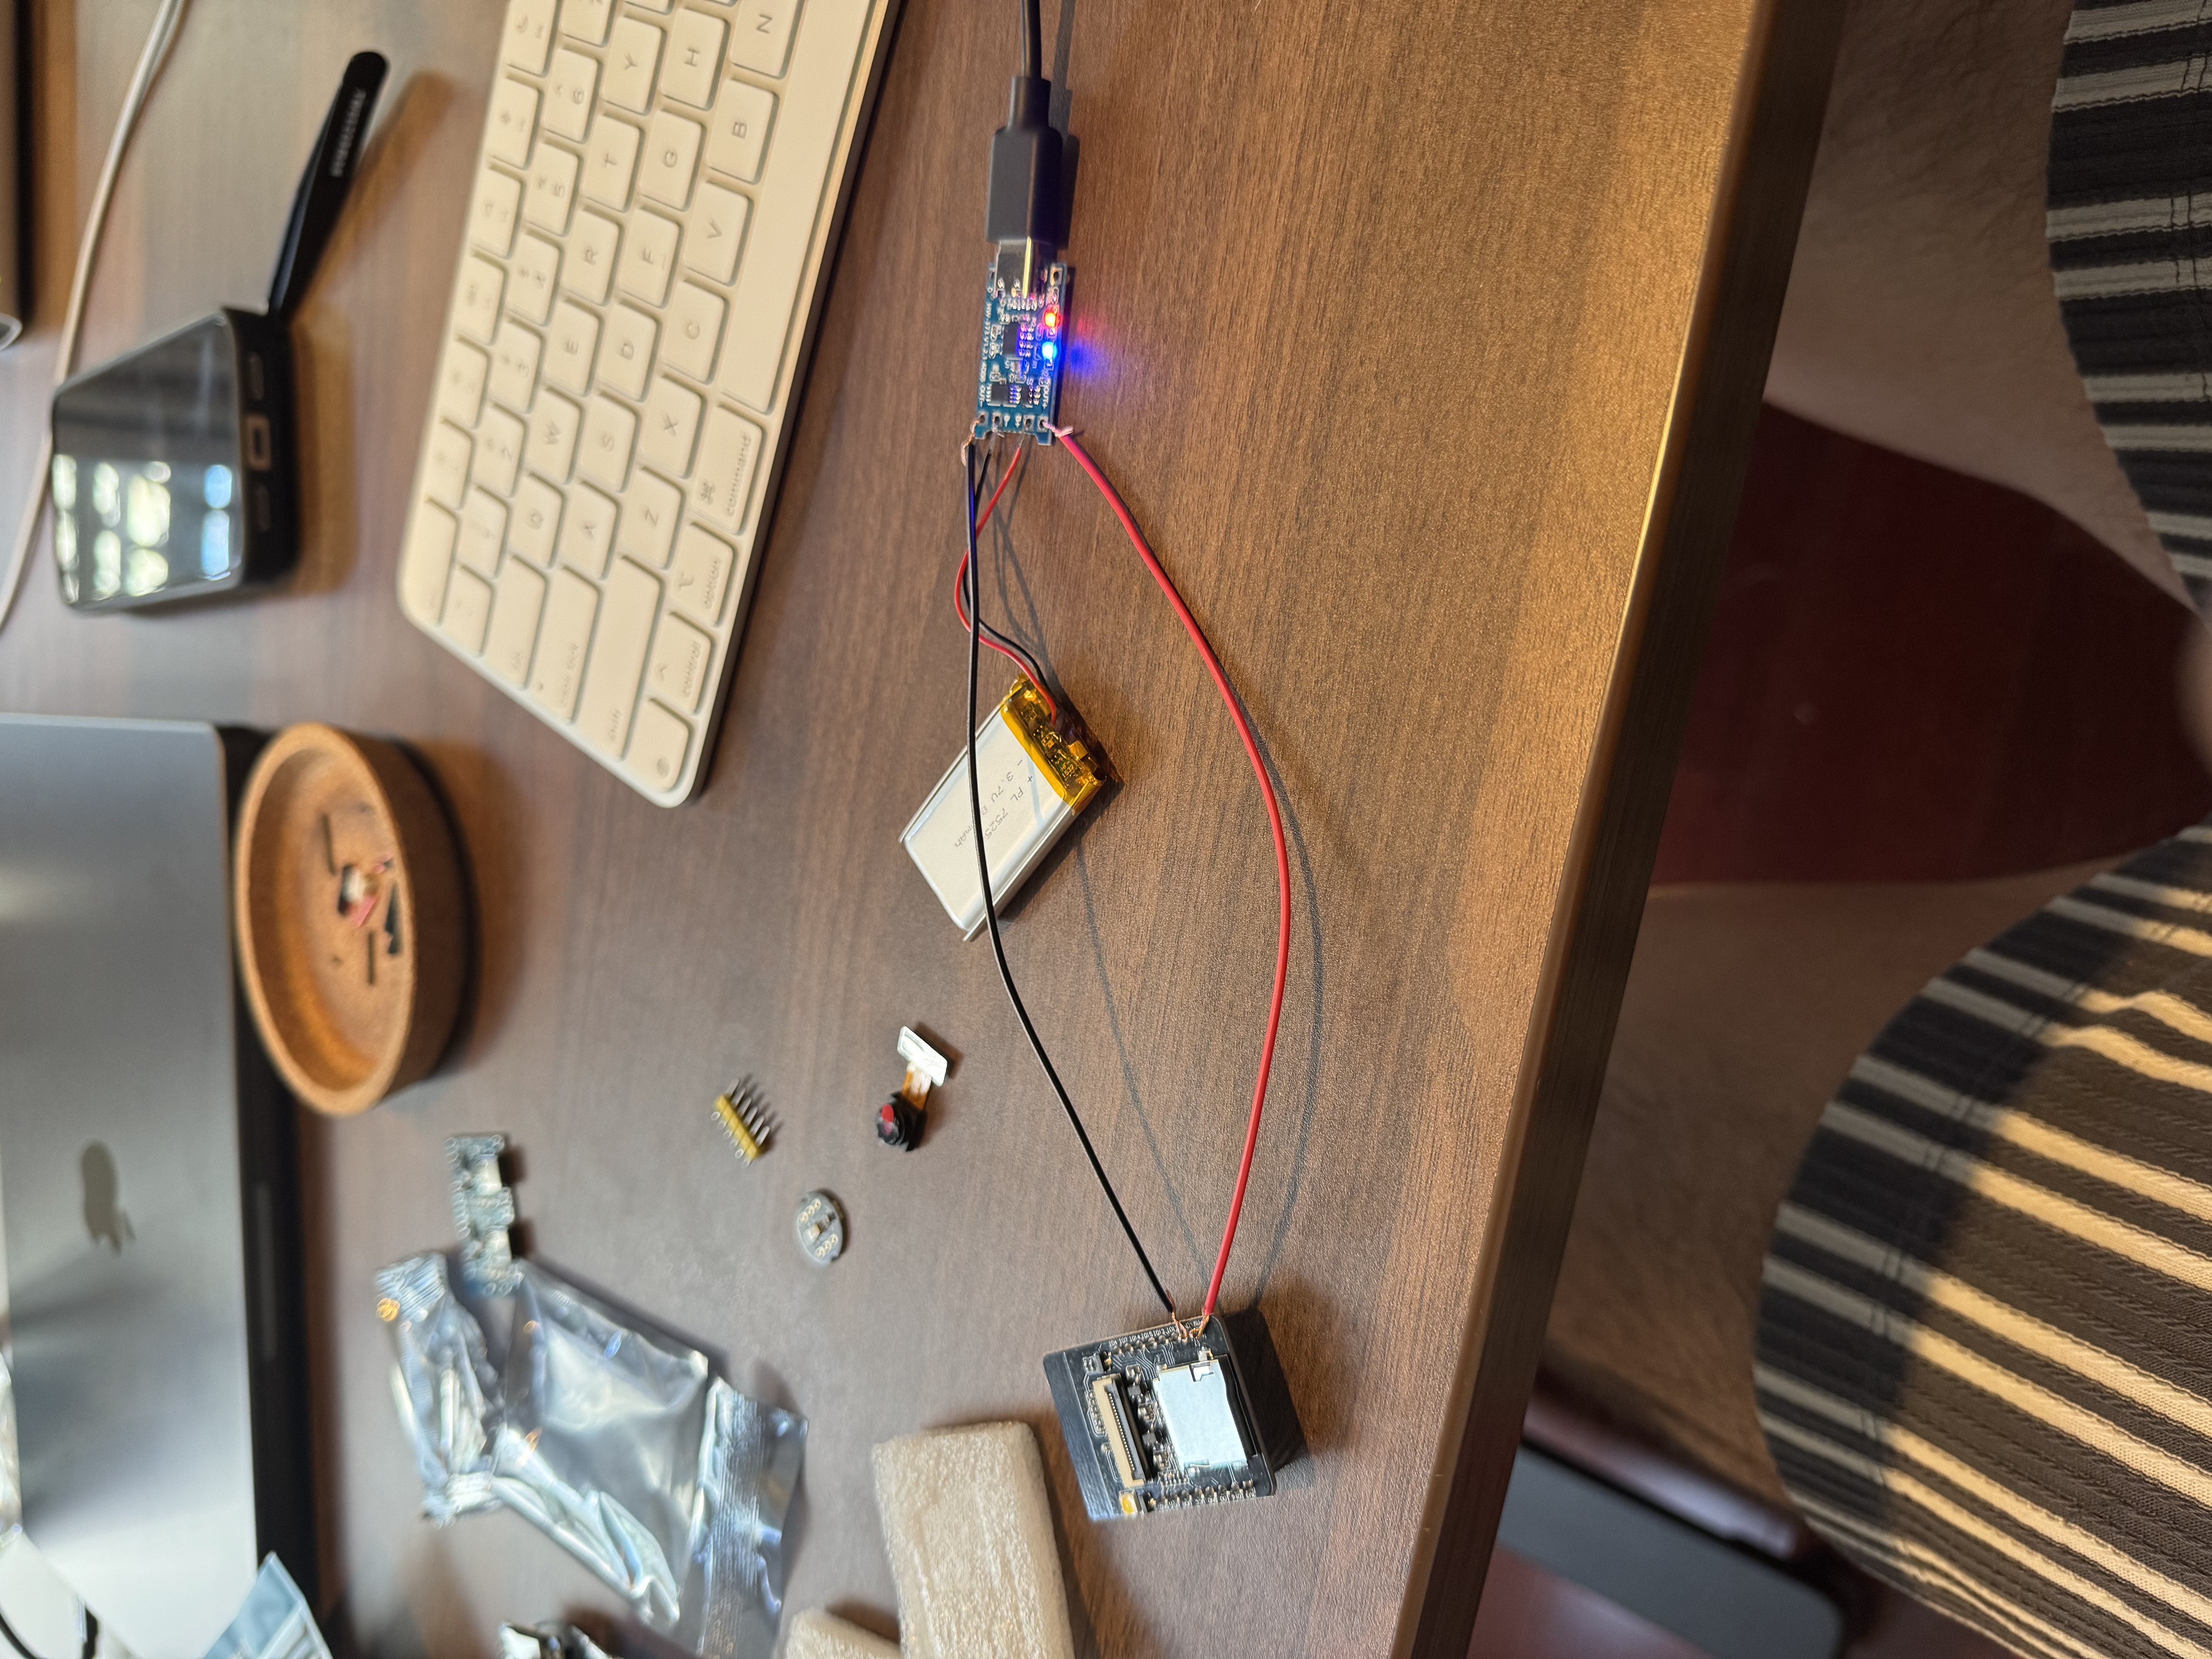
- Soldered battery to TP4056 charging module — first time soldering
- Flashed custom firmware to ESP32-CAM via USB-to-serial adapter using PlatformIO
- ESP32-CAM connects to Wi-Fi and serves a live camera page with photo capture button
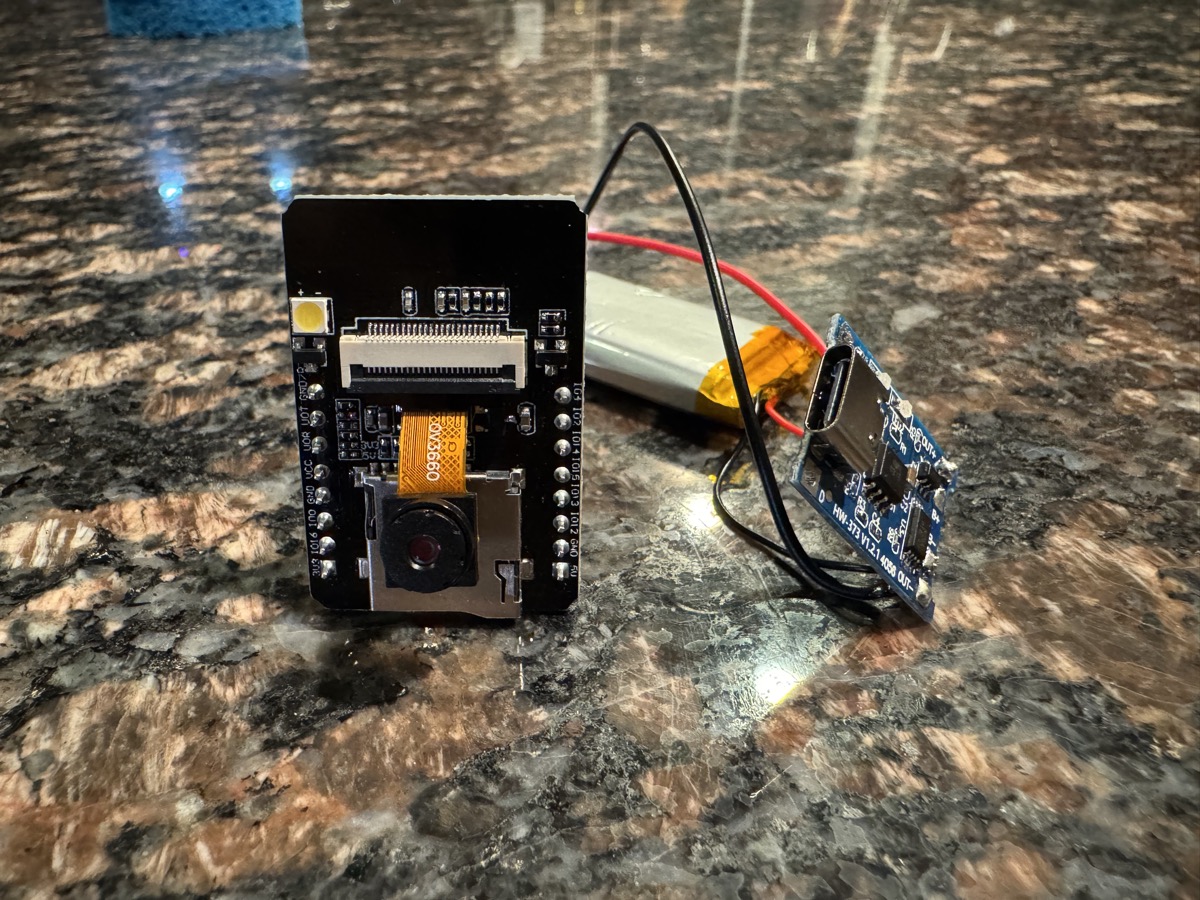
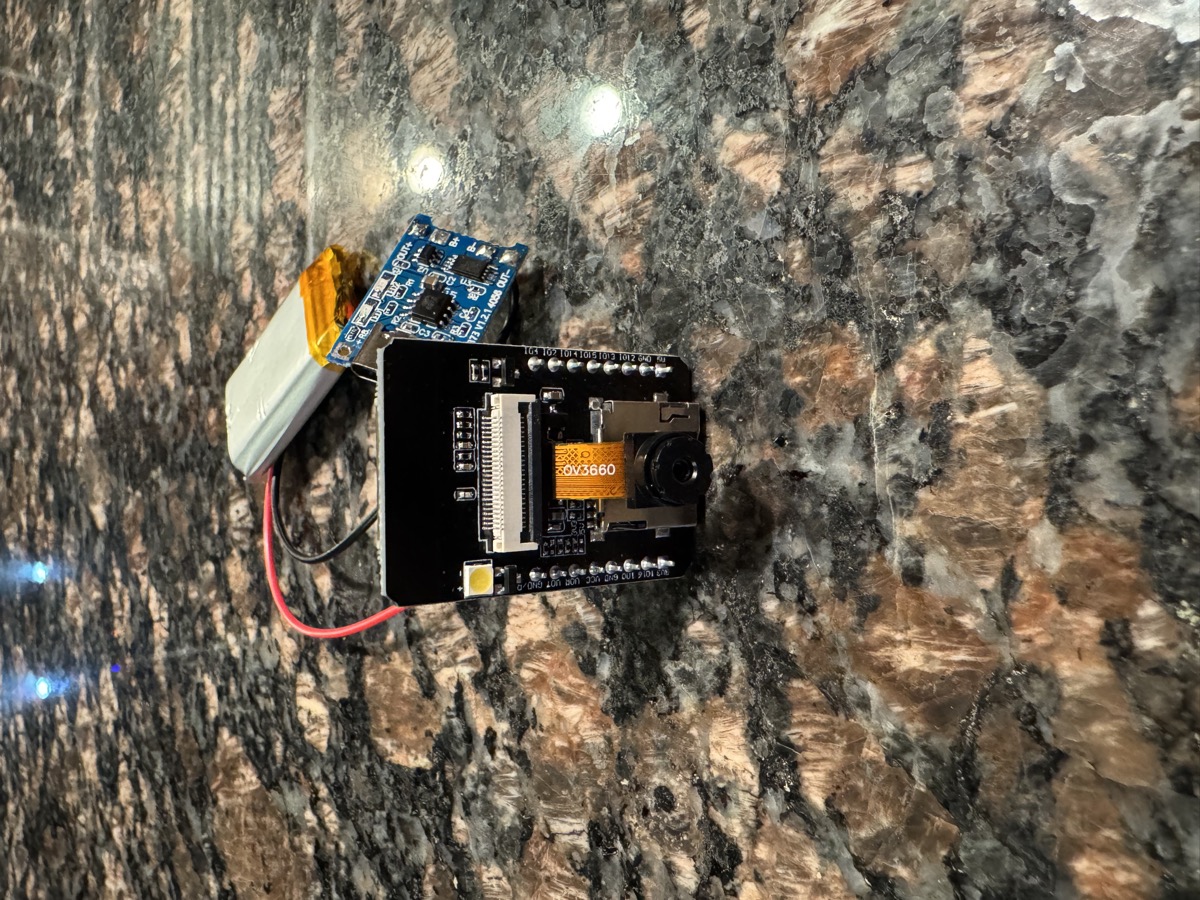
- Achieved battery-powered operation: LiPo → TP4056 → ESP32-CAM (3.3V pin)
- Learned that 5V pin doesn't work well with LiPo voltage; 3.3V pin works directly
- ESP32-CAM is laggy for video (~5fps, drops WiFi under load). Evaluating Raspberry Pi Zero 2W for Phase 2 — proper 1080p video at 30fps, on-device processing, better camera modules
- Full wiring guide → — complete diagram and step-by-step for battery, camera, and microphone connections

- Got the battery plugged in with blue and red indicator lights for charged/charging states
- Wiring was difficult — connections kept coming loose. Need soldering and alligator wires for stable power supply
- The entire work requires a good setup, dedicated time, proper tools, and good focus
- Visited Micro Center with Shamil — great experience, but couldn't find many parts. Will order from Amazon
- Shopping list for next week: multimeter, breadboard, solder kit, alligator wires